Setting up a gaming monitor can be complex and will influence how you experience your games. Whether it’s a single or dual-monitor setup, the most important thing is to get everything right to enjoy the game to the fullest. This includes adjusting resolution and color depth, enabling HDR and FreeSync/G-Sync, and other settings that can enable better visuals and smoother gameplay. So, once you’ve unpacked your new gaming monitor, follow our guide below to configure it the best way possible.
1. Choose Your Refresh Rate and Resolution
First and foremost, you need to set your monitor resolution. For users with NVIDIA cards, just right-click your desktop, then NVIDIA Control Panel. Here, go to “Display.” Under the “Change Resolution” tab, pull down and switch it to the highest possible resolution.
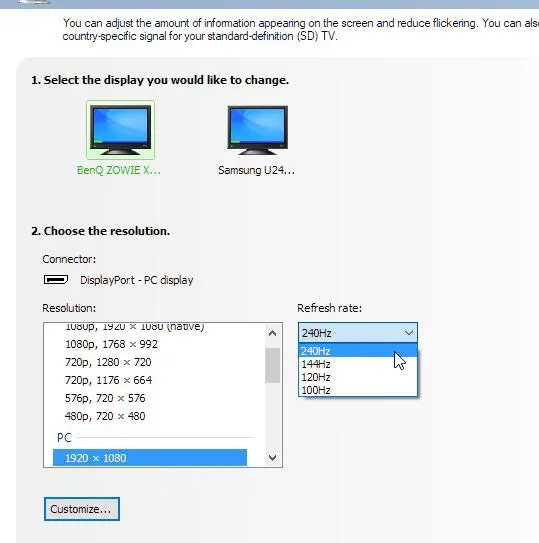
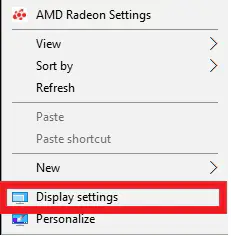
If you are an AMD user, just right-click the desktop, then “Display Settings,” and in the pull-down menu, pick the highest possible resolution. In this case, you can set the refresh rate to the highest available option for your chosen resolution as well.
If you are working with an ultrawide monitor, ensure the resolution is set to fit the aspect ratio of your screen. For example, the 4K resolution monitor normally has a 21:9 aspect ratio, which fits perfectly in wide gaming rigs.
2. Adjust the Color Depth
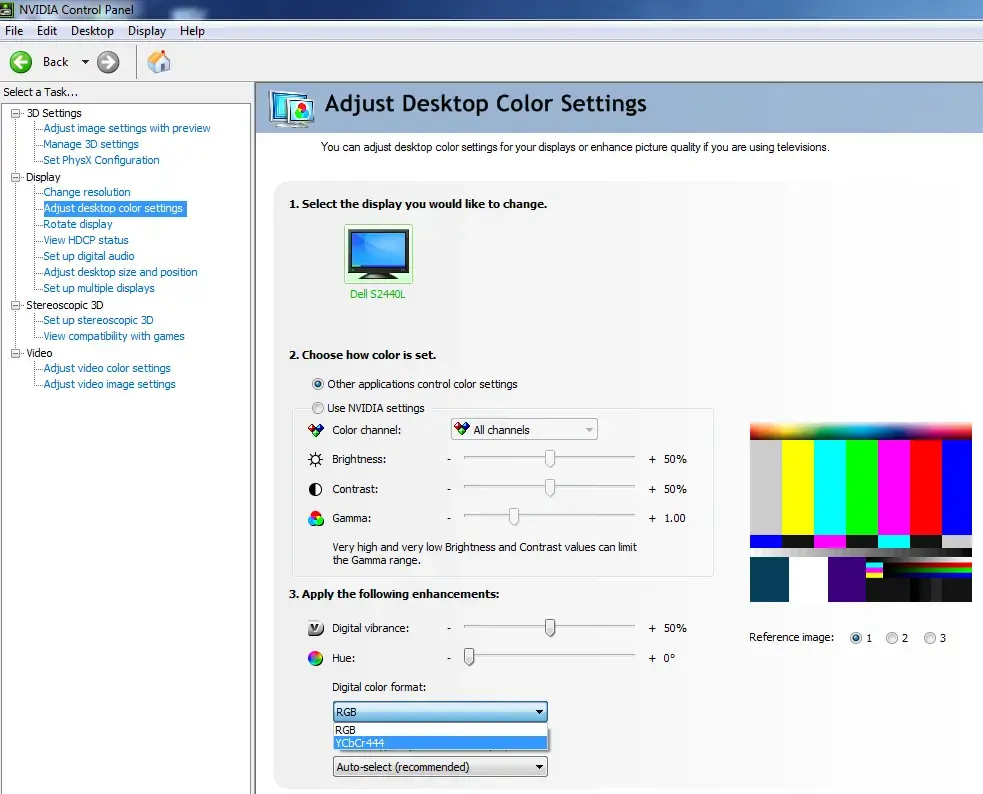
Next, you need to set up the color depth of your monitor for vibrant colors and sharp details. If you’ve got an NVIDIA graphics card, fire up the NVIDIA Control Panel and under the Display heading, tick the checkbox “Use NVIDIA color settings” and set the sliders for Output color format to YCbCr444 and Output dynamic range to its highest value.
In case you get color issues, use YCbCr444. In case you’re on AMD, open AMD Radeon Settings, select “Display,” and apply the highest values for both Color Depth and Pixel Format.
3. Turn On HDR
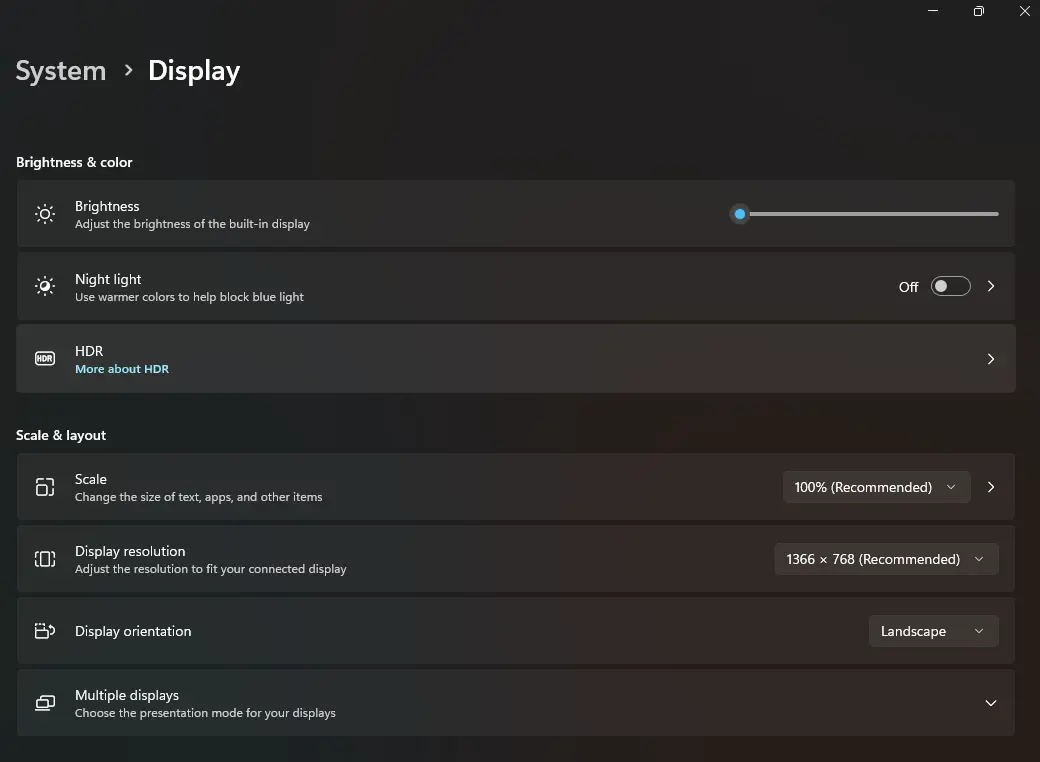
High Dynamic Range (HDR) enhances color accuracy and contrast. You can easily enable HDR in Windows 11 with the following steps: Go to Settings > select System > click on Display.
Now, under Select and Rearrange Displays, choose the monitor for which you want to enable HDR. Click on Windows HD Color Settings and switch on the option of Use HDR.
4. Turn On FreeSync or G-Sync
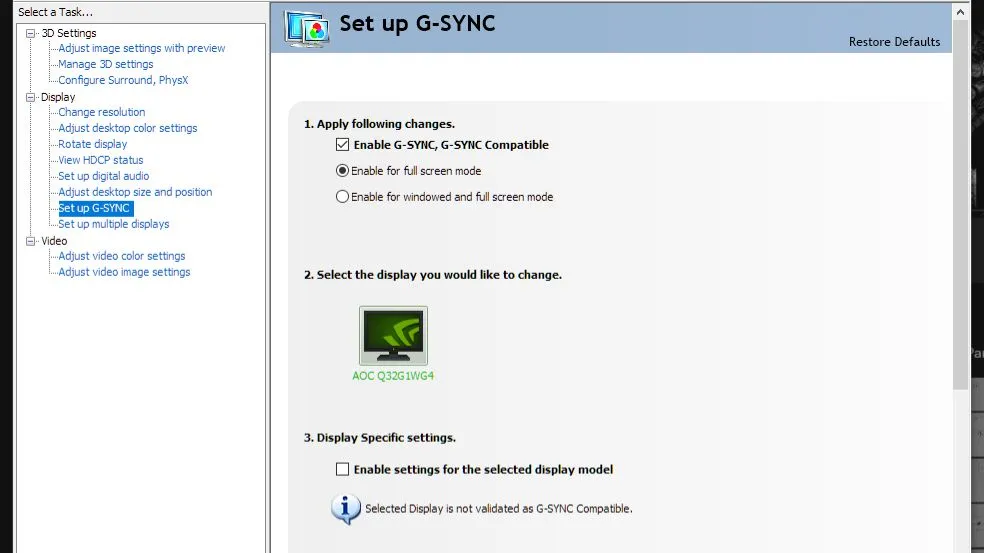
FreeSync (for AMD graphics cards) and G-Sync (for NVIDIA cards) have been developed to avoid screen tearing and offer a smoother gameplay experience. To configure it, follow these steps.
Right-click the desktop, open either the NVIDIA Control Panel or AMD Radeon Settings, and find the setup options for G-Sync or FreeSync and turn it on. Once enabled, your monitor’s refresh rate should match the frame rate of your graphics card. This method greatly reduces stuttering and tearing.
5. Calibrate Color Settings: Brightness, Contrast, etc.
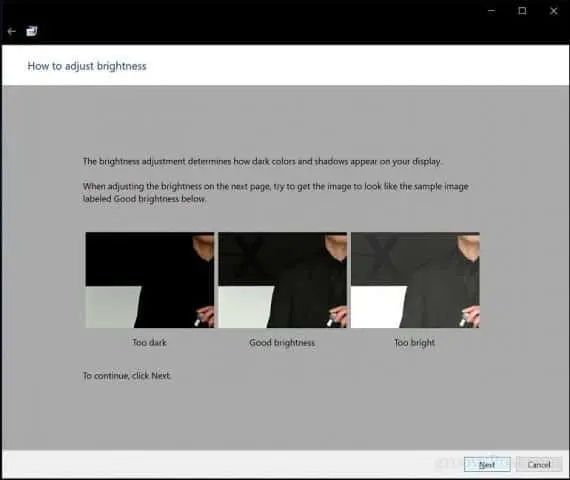
The correct calibration of proper contrast, brightness, and color settings on your Gaming Monitor ultimately assures a crystal clear display and good color in games. To do this, open “Control Panel“. Then search for “Color Management,” and finally go to “Advanced.”
Here, click on “Calibrate Display” under Display calibration and follow the on-screen instructions to properly calibrate your screen. This will also take you through the Clear Type settings for clarity in text, but this may be skipped.
Wrapping It All
Fine-tuning your gaming monitor’s settings is key to optimal gaming experiences. Adjust resolution, refresh rate, color depth, HDR, and FreeSync/G-Sync for enhanced performance and visuals. Even with one or two monitors, this investment of time will significantly improve your overall immersion and gaming experience. Plus it will help you get the most out of your hefty investment in the monitor itself.


