A laptop optimized for video editing is a godsend for creative professionals and hobbyists alike. Video editing can put significant demand on both hardware and software, so having the right settings is crucial. Whether you’re using Windows 10 or Windows 11, these tips will help you get the most out of your machine, making video editing smoother and faster—without sacrificing the look and feel of your PC.
1. Clean Up Your Disk
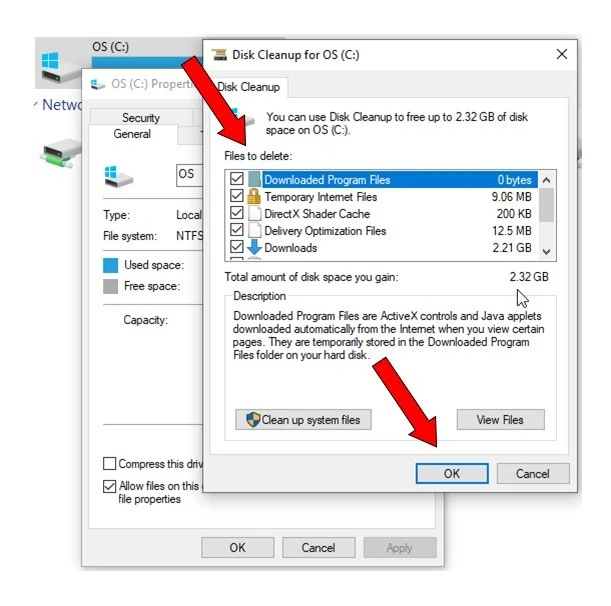
Disk Cleanup is a built-in Windows utility that removes temporary files, system caches, and other unnecessary data. Since disk space is crucial for video editing, running Disk Cleanup regularly can help free up valuable storage.
To run Disk Cleanup:
- Type Disk Cleanup in the Windows search bar and open the app.
- Select the drive you want to clean up (usually the C: drive) and click OK.
- Check the boxes next to the file types you want to delete (e.g., Temporary files, Recycle Bin, Thumbnails).
- Click OK to start the cleanup process.
To further optimize storage, enable Storage Sense under Settings > System > Storage. This will automatically delete temporary files and empty the Recycle Bin, helping to maintain optimal disk space and performance.
2. Manage Startup Programs
Many programs launch automatically when you start your computer. This can increase boot time and slow down your laptop’s overall performance. To control which programs launch at startup, press Ctrl-Shift-Esc to open the Task Manager. Then, go to the Startup tab and disable any unwanted applications.
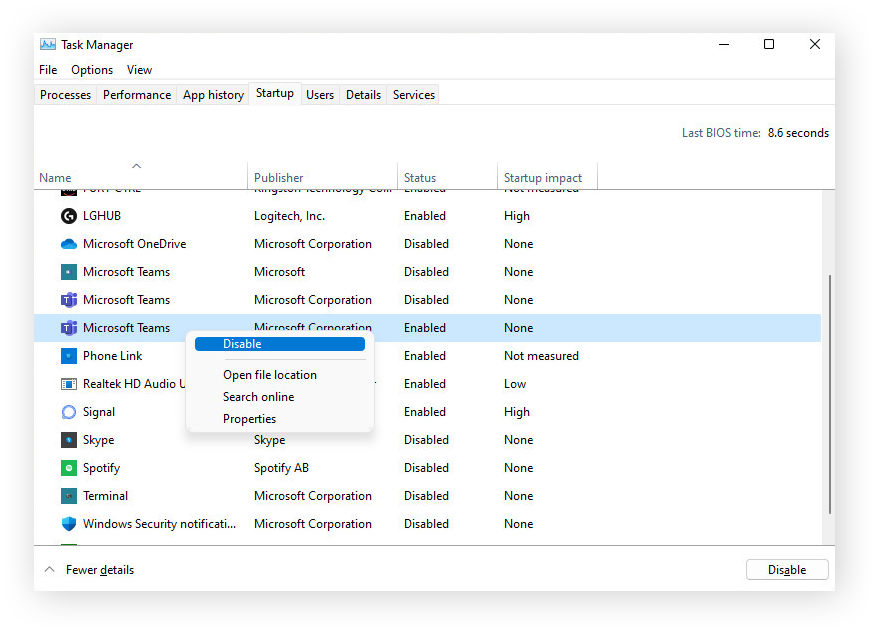
This will help you quickly start video editing without wasting your computer’s resources on unnecessary software and background processes. You’ll free up valuable CPU power and RAM, allowing your video editing software (say, Premiere Pro) to run more smoothly and efficiently.
3. Remove Unnecessary Software
Many Windows laptops include default software, also known as bloatware, such as McAfee, MyAsus, and Lenovo Vantage. These applications waste precious system resources.
To get rid of them, open the Start menu, type in Apps & features, and remove all the software that you don’t need. This will create additional space for more important tasks, like video editing.
4. Upgrade Your RAM
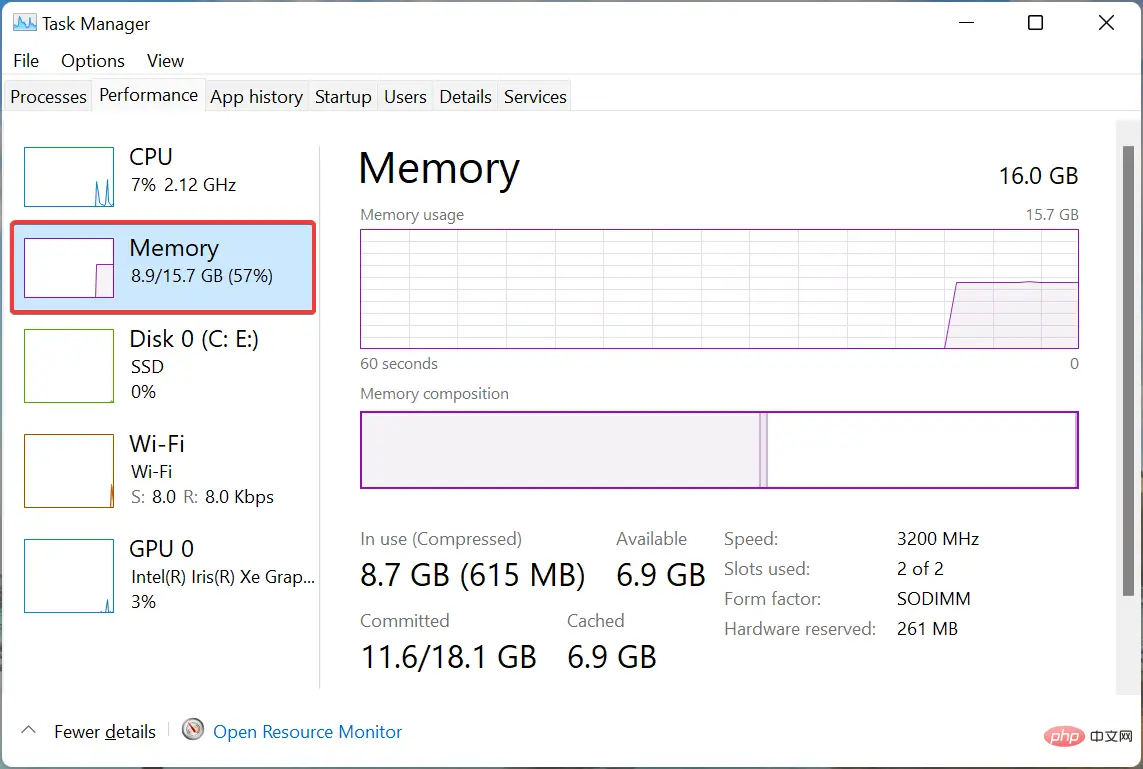
Increasing the RAM can significantly improve your laptop’s performance when working with large video files. If your laptop allows it, increase the RAM to at least 16GB for smoother video editing. This upgrade will help prevent your editing software from crashing or slowing down.
5. Optimize Power Settings
Adjusting your laptop’s power settings can provide an extra performance boost for video editing. To do this:
- Open Settings > System > Power & Sleep.
- Click Additional Power Settings.
- Select the High-Performance option.
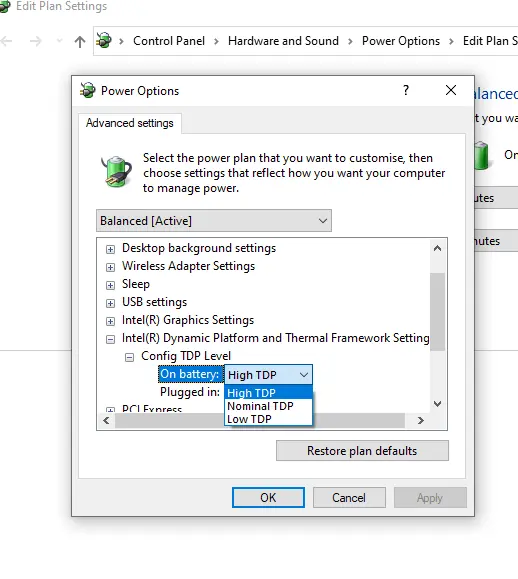
The High-Performance plan prioritizes maximum processing power, which is essential for demanding tasks like video editing. However, keep in mind that this setting may increase power consumption and fan noise. Therefore, it’s best to use it when you’re plugged in and need the extra performance.
6. Check for and Remove Malware
Malware, including viruses, ransomware, and spyware, can significantly slow down your laptop and even compromise your valuable video projects. It’s crucial to regularly scan for malware using reliable antivirus software.
Windows Defender, built into Windows, offers robust protection with real-time monitoring and cloud-delivered updates.
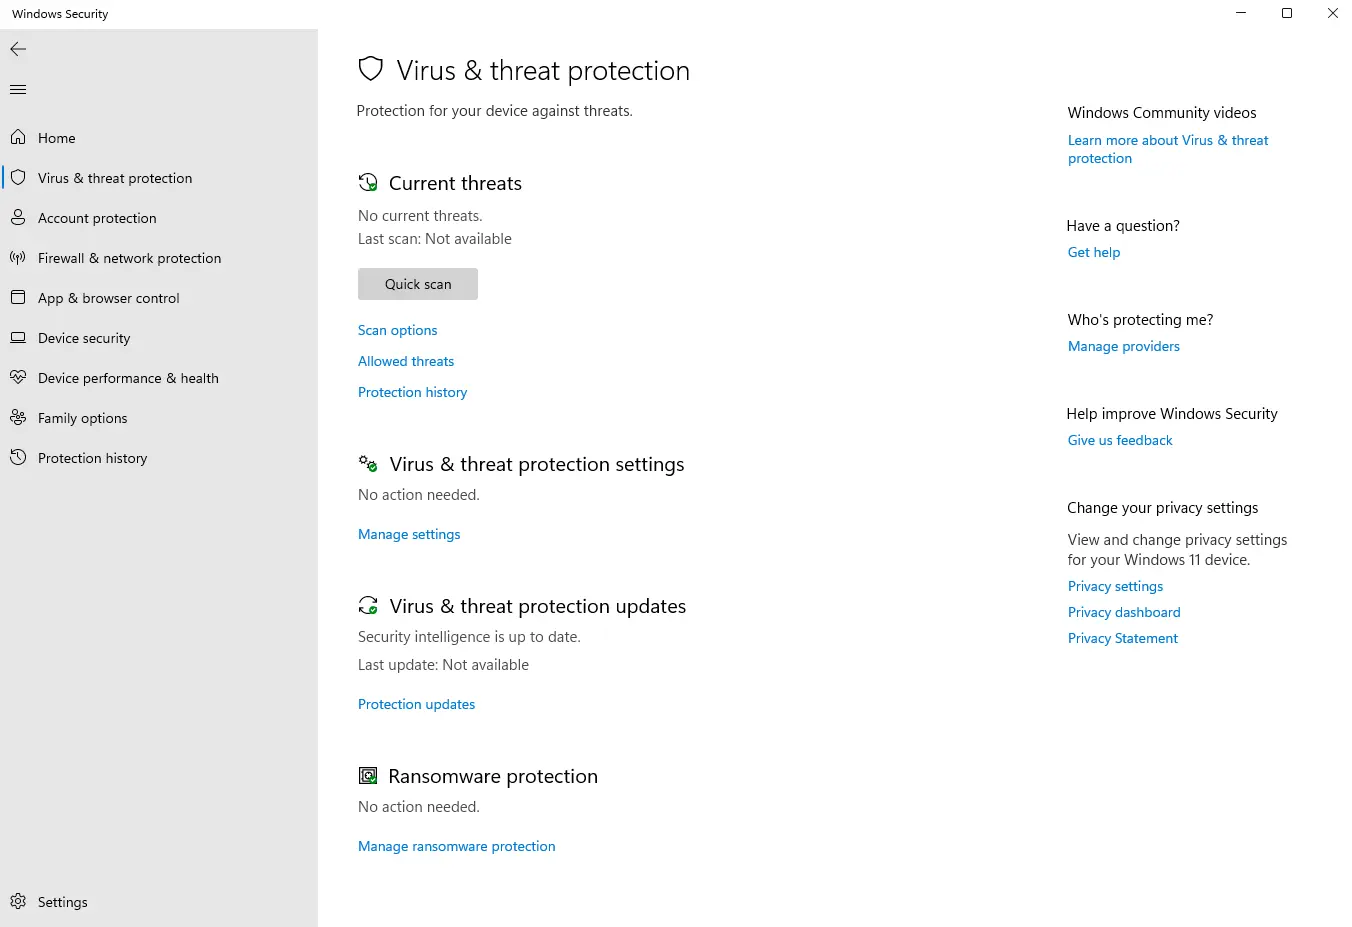
For added security, consider third-party options like Malwarebytes, which provides excellent protection without consuming excessive system resources. Aim to scan your system for malware at least once a month, or more frequently if you often download files from the internet or use external drives.
7. Install an SSD
Solid-state drives (SSDs) offer a massive speed advantage over traditional hard drives, which is essential for smooth and efficient video editing. SSDs provide much faster access to data, resulting in quicker loading of project files, smoother scrubbing through timelines, and improved rendering times.
If possible, replace your laptop’s internal hard drive with an SSD. NVMe SSDs offer the fastest speeds, followed by SATA SSDs. If replacing the internal drive isn’t an option, consider using an external SSD connected via USB 3.0 or faster for your video projects.
When choosing an external SSD, consider factors like speed (NVMe enclosures are generally faster), capacity (choose a size that can comfortably hold your video projects), and portability (if you need to move the drive frequently).
8. Run System Troubleshooters
Windows includes built-in troubleshooters that can automatically identify and fix common performance issues. These tools can be particularly helpful for resolving problems related to hardware, program compatibility, or system maintenance.
If you’re experiencing performance issues or encountering error messages, try running the relevant troubleshooters. To do this:
- Go to the Start menu and type “troubleshoot.”
- Select the Troubleshoot settings option.
- Run the recommended troubleshooters or select a specific troubleshooter based on the problem you’re experiencing.
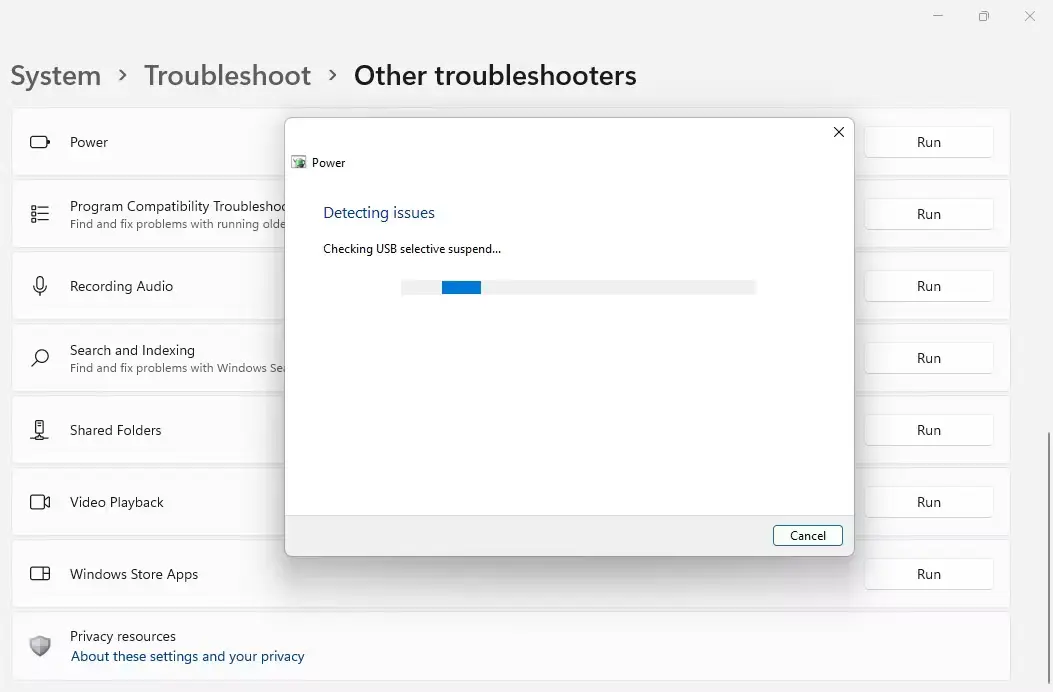
These troubleshooters can help optimize your laptop and ensure it runs efficiently for video editing.
9. Turn Off Tips and Notifications
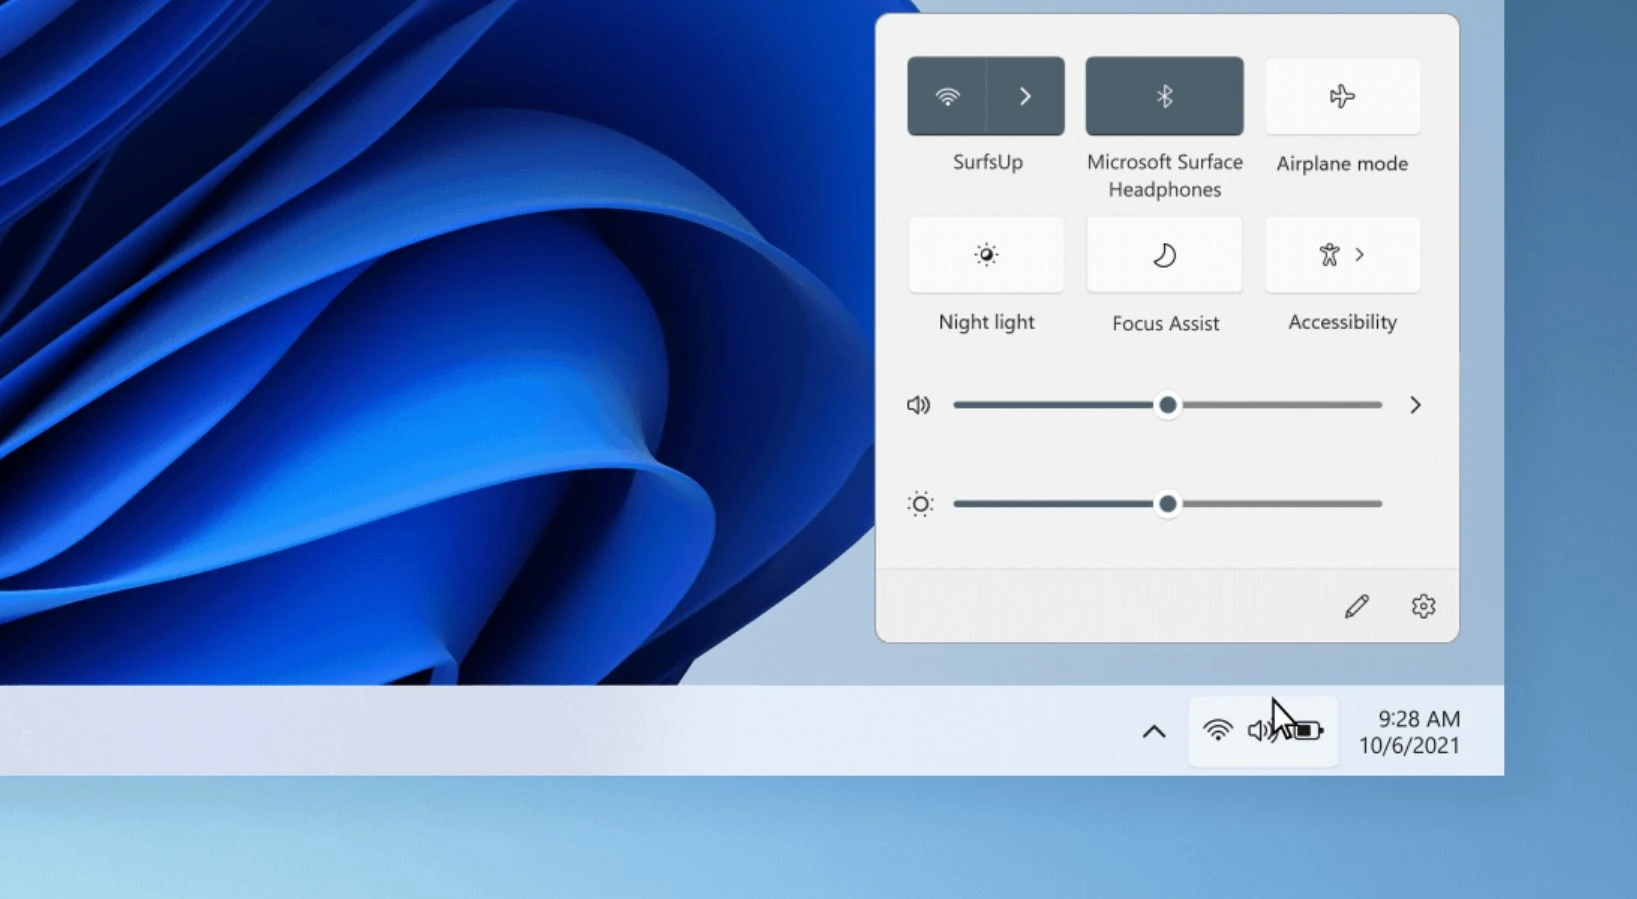
Windows notifications, such as those from apps, news updates, and system alerts, can be distracting and consume system resources. To minimize interruptions and optimize performance during video editing, consider turning off or adjusting your notification settings.
To do this:
- Go to Settings > System > Notifications & actions.
- Toggle off unnecessary notifications or adjust the notification settings for specific apps.
- Consider using Focus Assist to silence notifications automatically during specific times or when using certain apps.
10. Disable Search Indexing
While search indexing speeds up file searches, it can consume system resources that might be better used for video editing. Indexing can sometimes cause slowdowns or lag, especially when working with large video files or during rendering.
To optimize performance, consider adjusting your search indexing settings:
- Open the Indexing Options Control Panel.
- Click Modify.
- Uncheck the boxes next to any locations that don’t contain files relevant to your video editing projects (e.g., Documents, Downloads, Music). This will prevent those locations from being indexed, freeing up resources.
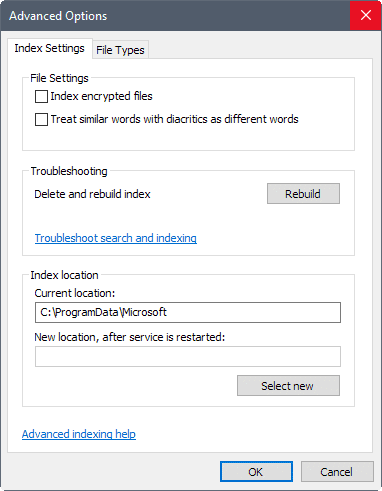
Alternatively, you can temporarily pause indexing while editing videos. To do this, click Advanced in the Indexing Options window and then select Pause under Indexing Service Settings. Remember to resume indexing later to ensure efficient file searching.
11. Adjust Visual Effects for Performance
Windows uses various visual effects to enhance the user experience, but these effects can consume system resources that could be used for video editing. Disabling some of these effects can free up valuable processing power, leading to smoother playback, faster rendering, and improved responsiveness in your video editing software.
To adjust visual effects for optimal performance:
- Type “adjust appearance” in the Start menu search bar.
- Click Adjust the appearance and performance of Windows.
- Select Adjust for best performance to disable all visual effects.
- Alternatively, choose Custom and selectively disable individual effects like window animations, shadows, and transparency.
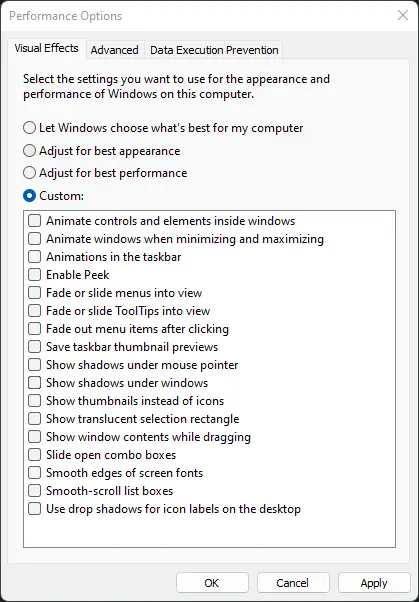
By fine-tuning your visual effects settings, you can strike a balance between aesthetics and performance for a more efficient video editing workflow.
FAQs
Q. Will Moving to Windows 11 Bring Any Improvement to My Video Editing Performance?
Windows 11 includes several performance enhancements that can benefit video editing, such as better optimization for multi-core processors and improved graphics performance. However, the tips shared in this article apply equally to both Windows 10 and 11.
Q. What Is the Real Amount of Ram I Need to Edit Videos?
The amount of RAM you need depends on the complexity of your video editing projects. 8GB is generally the minimum, which might be sufficient for basic 1080p editing. However, for smoother editing of 4K footage, complex effects, and multi-tasking, 16GB or more is recommended.
Q. What’s the Difference Between an External SSD and an Internal SSD When Doing Video Editing?
An internal SSD offers the best possible performance because it connects directly to your laptop’s motherboard. However, an external SSD connected via USB 3.0 or faster can still provide a significant speed boost compared to a traditional hard drive. They also offer portability and flexibility, allowing you to move your video projects between devices.
Wrapping Up
By implementing these tips, you can significantly optimize your Windows laptop for video editing. Regular maintenance, wise management of resources, and selective upgrades are essential steps to ensure your system can meet the demands of your creative journey.
Remember the key takeaways: free up disk space, manage startup programs, optimize power settings, and consider upgrading your RAM and storage. By taking these steps, you’ll create a smoother, faster, and more efficient video editing experience.


